As a supplier of 6 Color Flexo Printing Machines, I understand the importance of maintaining the ink circulation system in these machines. A clean and well - maintained ink circulation system is crucial for ensuring high - quality printing, prolonging the machine's lifespan, and reducing operational costs. In this blog, I'll share some professional insights on how to clean the ink circulation system of a 6 Color Flexo Printing Machine.
Understanding the Ink Circulation System
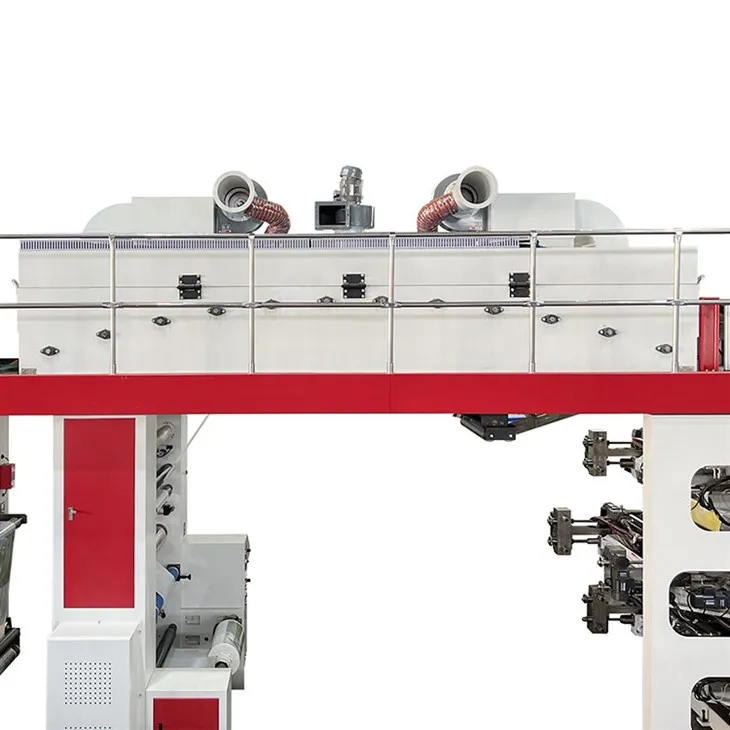
Before diving into the cleaning process, it's essential to have a basic understanding of the ink circulation system in a 6 Color Flexo Printing Machine. The system typically consists of an ink tank, ink pump, ink pipes, anilox rollers, and doctor blades. The ink is pumped from the ink tank through the pipes to the anilox rollers, which transfer the ink to the printing plates. The doctor blades are used to control the amount of ink on the anilox rollers.
Over time, ink residues, dried ink, and contaminants can accumulate in the system, leading to issues such as clogged pipes, uneven ink distribution, and poor print quality. Regular cleaning of the ink circulation system can prevent these problems and keep the machine running smoothly.
Pre - cleaning Preparations
- Safety First: Before starting the cleaning process, ensure that the machine is turned off and unplugged to avoid any electrical hazards. Wear appropriate personal protective equipment, such as gloves and safety glasses, to protect yourself from ink and cleaning agents.
- Gather Cleaning Supplies: You will need the following cleaning supplies:
- Ink solvents: Choose a solvent that is compatible with the type of ink used in your machine. Common solvents include alcohol - based solvents, water - based solvents, and specialized ink cleaning solvents.
- Cleaning brushes: Different sizes of brushes are needed to clean the various components of the ink circulation system, such as pipes, anilox rollers, and ink tanks.
- Lint - free cloths: These are used to wipe down the components and remove any remaining ink or solvent.
- Containers: You will need containers to hold the cleaning solvents and to collect the used ink and solvents.
Step - by - Step Cleaning Process
1. Empty the Ink Tanks
Start by draining the ink from the ink tanks. Open the drain valves at the bottom of the tanks and allow the ink to flow into a suitable container. Make sure to label the container properly to indicate the type of ink.
2. Flush the Ink Pipes
- Prepare the Solvent: Fill a container with the appropriate cleaning solvent.
- Connect the Solvent Source: Use a hose or a pump to connect the container of cleaning solvent to the ink inlet of the ink pump.
- Run the Pump: Turn on the ink pump and let the solvent circulate through the ink pipes for a few minutes. This will help to dissolve and flush out any ink residues and contaminants in the pipes.
- Reverse the Flow: If possible, reverse the flow of the solvent through the pipes to ensure thorough cleaning. This can be done by changing the direction of the pump or by using a valve to reverse the flow.
3. Clean the Anilox Rollers
- Remove the Anilox Rollers: Carefully remove the anilox rollers from the machine according to the manufacturer's instructions.
- Soak the Rollers: Place the anilox rollers in a container filled with the cleaning solvent. Let them soak for a sufficient amount of time, usually 30 minutes to an hour, depending on the degree of contamination.
- Brush the Rollers: Use a soft - bristled brush to gently scrub the surface of the anilox rollers. Pay special attention to the cells of the rollers, as these can easily become clogged with ink.
- Rinse the Rollers: After brushing, rinse the anilox rollers thoroughly with clean water to remove any remaining solvent and ink.
- Dry the Rollers: Use a lint - free cloth to dry the anilox rollers completely before reinstalling them in the machine.
4. Clean the Doctor Blades
- Remove the Doctor Blades: Remove the doctor blades from the machine.
- Soak the Blades: Place the doctor blades in a container filled with the cleaning solvent. Let them soak for a few minutes to loosen any ink residues.
- Wipe the Blades: Use a lint - free cloth to wipe the doctor blades clean. Make sure to remove all the ink and solvent from the blades.
- Inspect the Blades: Check the doctor blades for any signs of damage, such as nicks or bends. If necessary, replace the damaged blades.
5. Clean the Ink Tanks
- Scrub the Tanks: Use a brush to scrub the inside of the ink tanks to remove any dried ink and contaminants. Pay attention to the corners and edges of the tanks.
- Rinse the Tanks: After scrubbing, rinse the ink tanks thoroughly with clean water to remove any remaining ink and cleaning solvent.
- Dry the Tanks: Use a lint - free cloth to dry the ink tanks completely before refilling them with ink.
6. Reassemble the System
Once all the components of the ink circulation system are clean and dry, reassemble the system according to the manufacturer's instructions. Make sure that all the connections are tight and secure.
Post - cleaning Checks
- Leak Check: After reassembling the system, turn on the ink pump and check for any leaks in the pipes, connections, and tanks. If you find any leaks, tighten the connections or replace the damaged components.
- Ink Circulation Test: Run a test print to check the ink circulation and distribution. Make sure that the ink is flowing smoothly through the system and that the print quality is satisfactory.
Regular Maintenance Schedule
To keep the ink circulation system in good condition, it's recommended to establish a regular maintenance schedule. The frequency of cleaning depends on the usage of the machine and the type of ink used. Generally, it's a good idea to clean the ink circulation system at least once a week for machines that are used frequently.

Related Products
If you are interested in other types of flexo printing machines, we also offer PE Film Flexo Printing Machine, Non Woven Flexo Printing Machine, and Central Impression Flexo Press. These machines are designed to meet different printing needs and offer high - quality printing results.
Conclusion
Cleaning the ink circulation system of a 6 Color Flexo Printing Machine is a crucial part of machine maintenance. By following the steps outlined in this blog, you can ensure that your machine operates at its best, producing high - quality prints consistently. If you have any questions or need further assistance with cleaning or maintaining your flexo printing machine, feel free to contact us. We are always ready to help you with your printing needs and guide you through the process of purchasing the right equipment for your business.
References
- Flexographic Printing Technical Association (FTA) - Best Practices for Flexo Printing Machine Maintenance
- Manufacturer's Manuals for 6 Color Flexo Printing Machines